DRAWING VIEW
Other Chapters
INTRODUCTION TO 2D AND 3D CAD2D SKETCHES (ASTM STANDARDS)DIMENSIONS AND CONSTRAINTS (ASTM STANDARDS)TOLERANCES (ASTM STANDARDS)SOLID MODELINGASSEMBLY MODELINGDRAWING VIEWPRESENTATION MODULESHEAR METAL COMPONENTSCAM (COMPUTER AIDED MANUFACTURING)PROCESS PLANNING
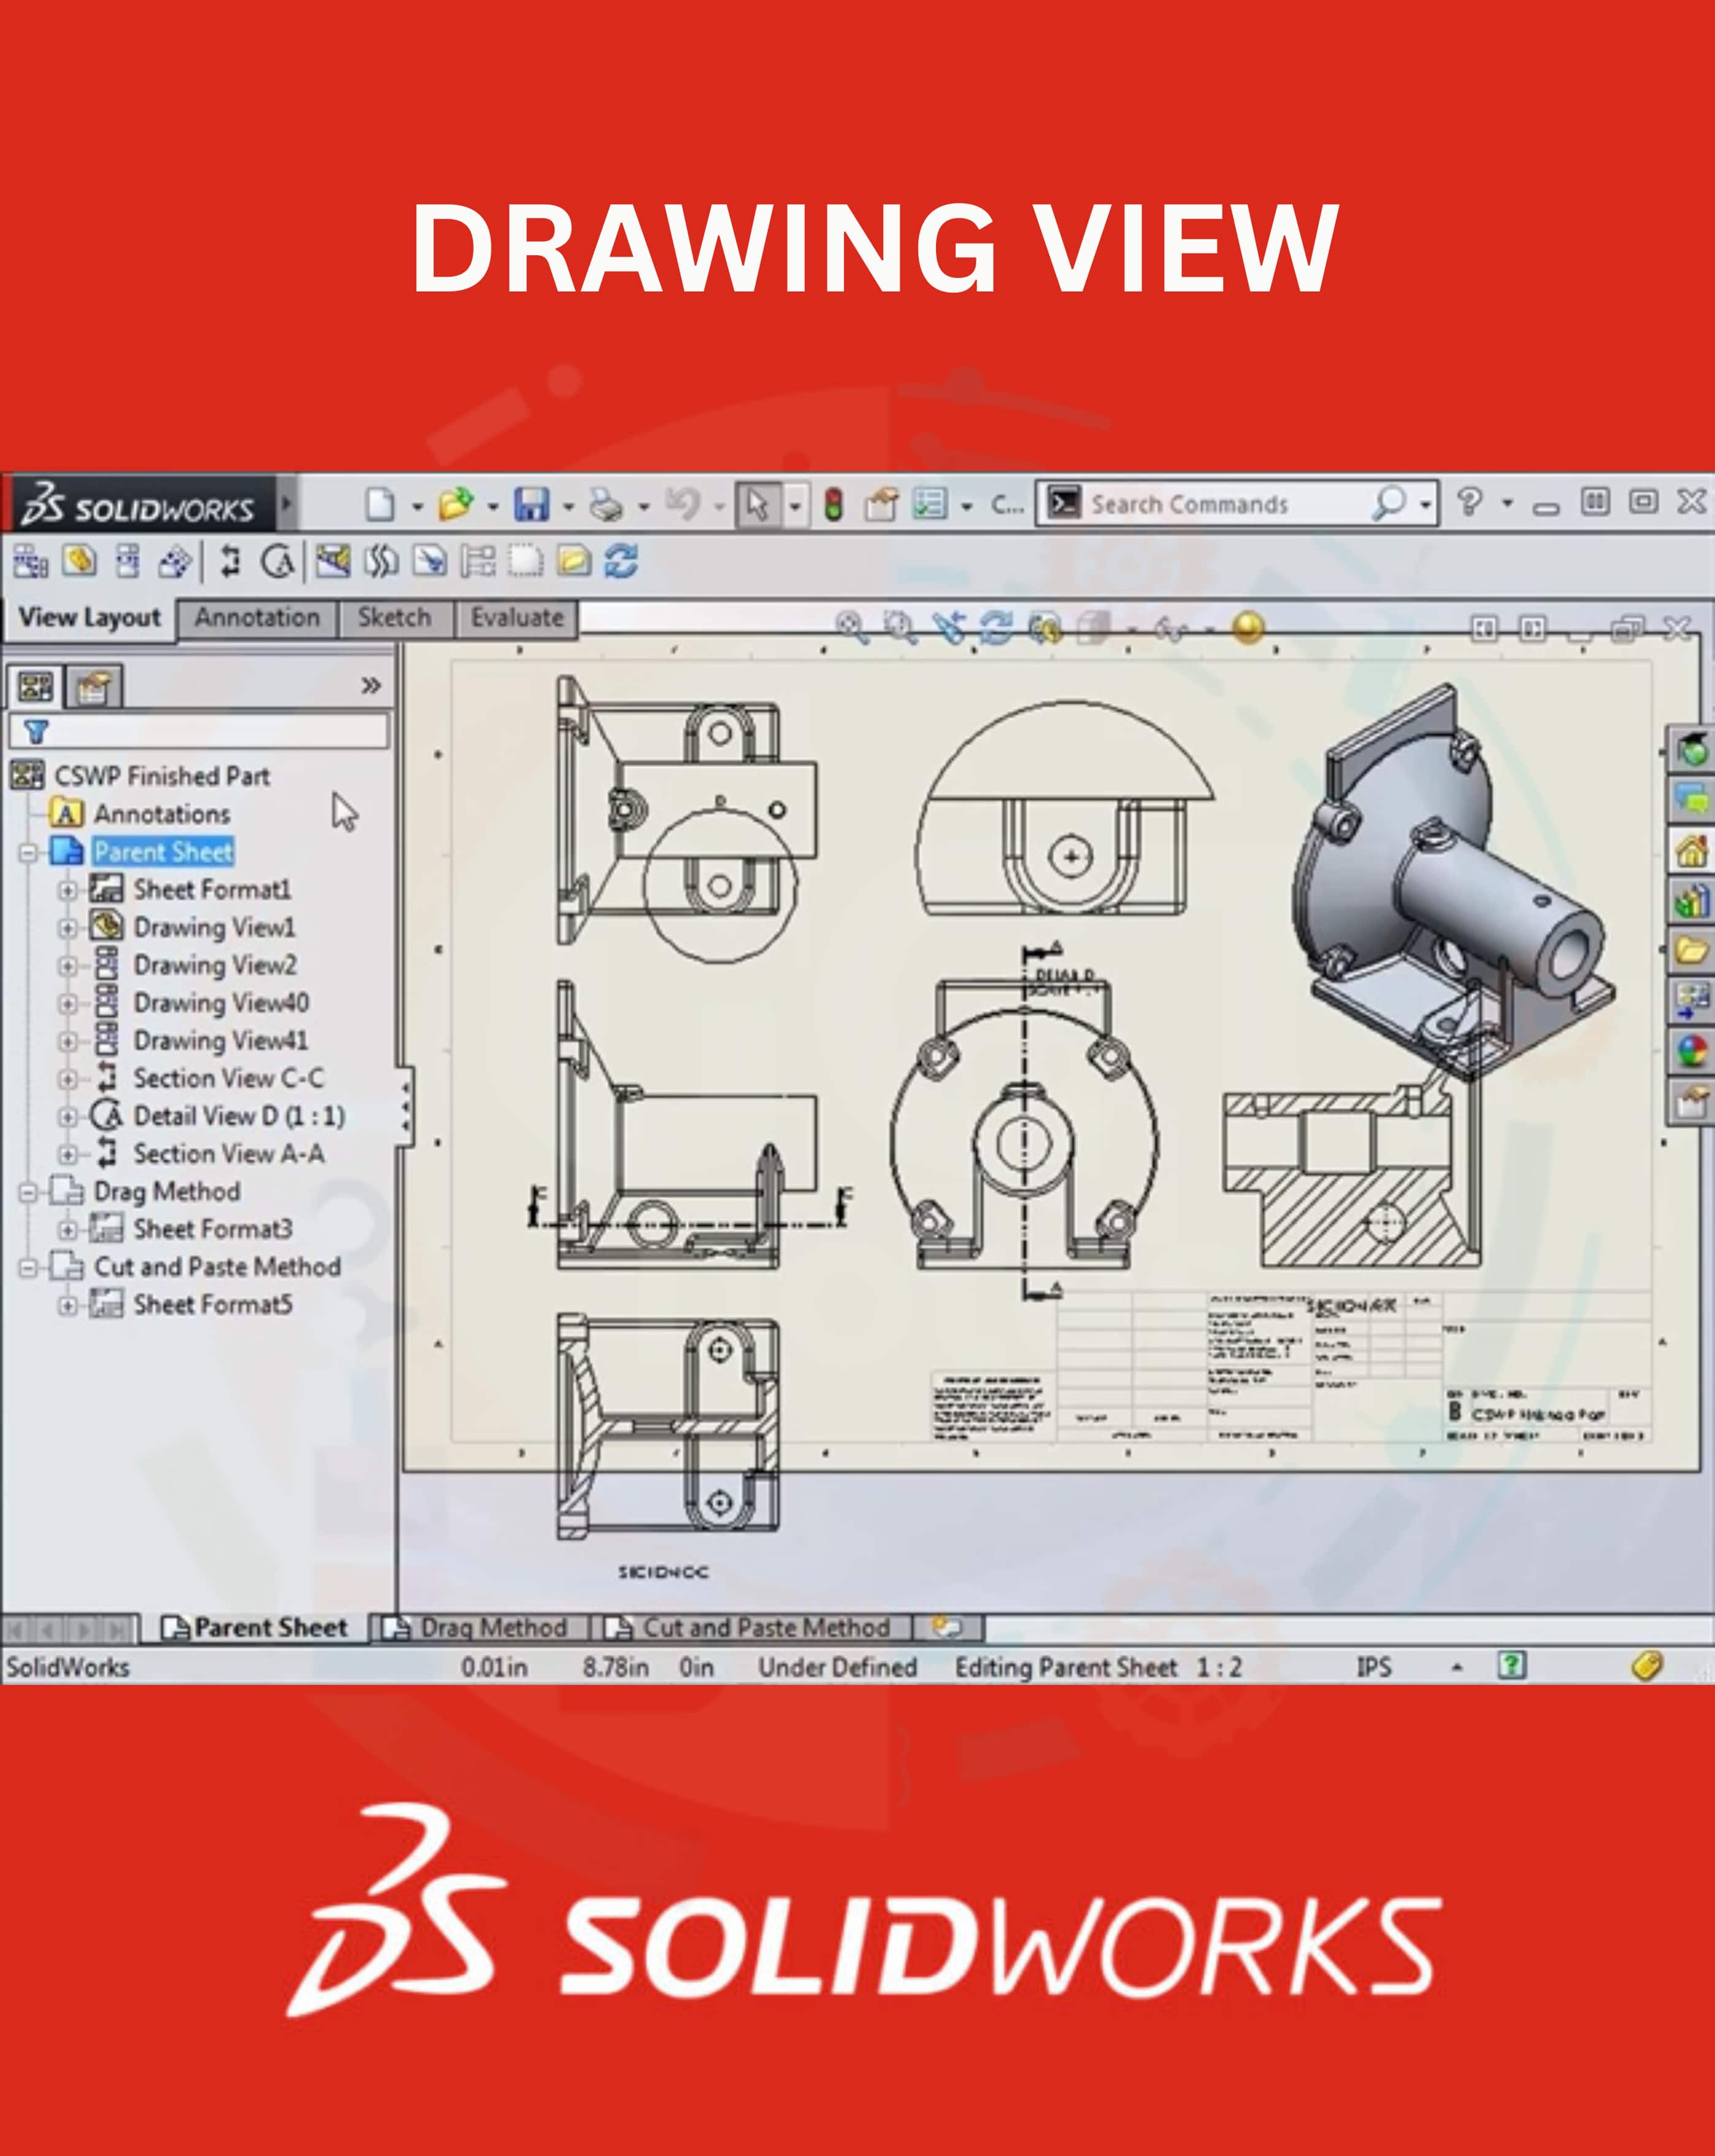
- Q1: Define Model View.Ans: Model View is a representation of a 3D part or assembly in 2D drawing, showing its shape and features.
- Q2: Write down any four types of views in Solidworks.Ans: Four types of views are as follows:
- ➔ Front View
- ➔ Top View
- ➔ Right Side View
- ➔ Isometric View
- Q3: Define Projected View in Solidworks.Ans: Projected View is a secondary view created from a main view to show features at different angles.
- Q4: Define Section View in Solidworks.Ans: Section View cuts through a part to show internal features that are not visible from the outside.
- Q5: Define Detail View in Solidworks.Ans: Detail View enlarges a small area of a drawing to show intricate features clearly.
- Q6: Define Auxiliary View in Solidworks.Ans: Auxiliary View is a view projected from an inclined surface to show true shape and size of features.
- Q7: Define Aligned Section View in Solidworks.Ans: Aligned Section View is a section view where features are rotated or bent to align with the cutting plane.
- Q8: Define Broken-out Section View in Solidworks.Ans: Broken-out Section View shows an internal section of a part without cutting the entire object.
- Q9: Define Break View in Solidworks.Ans: Break View shortens a long part in the drawing to fit it on the sheet while maintaining proportions.
- Q10: Define Crop View in Solidworks.Ans: Crop View removes unwanted areas from a drawing to focus on a specific portion of the model.
- Q11: Define Alternate Position View in Solidworks.Ans: Alternate Position View shows different positions of a moving component within the same drawing view.
- Q12: Write down any four types of line.Ans: Four types of lines are as follows:
- ➔ Continuous Line
- ➔ Hidden Line
- ➔ Centerline
- ➔ Phantom Line
- Q13: Describe the purpose of centerlines.Ans: Centerlines indicate the center of circles, arcs, or symmetrical features in a drawing.
- Q14: Describe the purpose of leader lines.Ans: Leader lines connect notes, dimensions, or symbols to specific features in a drawing.
- Q15: Write down any 2 National American Standard of drawing lines.Ans: Two National American Standards are as follows:
- ➔ 8.5” x 11”
- ➔ 11” x 17”
- Q16: What does ASME stand for?Ans: ASME stands for American Society of Mechanical Engineers.
- Q17: What is a Smart Dimension Tool?Ans: Smart Dimension Tool is used to measure and apply dimensions to sketches or drawings accurately in SolidWorks.
- Q18: Write the procedure to apply Horizontal dimension using Smart Dimension Tool.Ans: The steps to apply Horizontal dimension are as follows:
- ➔ Select the two points or lines.
- ➔ Click Smart Dimension Tool.
- ➔ Place the dimension horizontally.
- ➔ Enter the value and confirm.
- Q19: Write the procedure to apply Aligned dimension using Smart Dimension Tool.Ans: The steps to apply Aligned dimension are as follows:
- ➔ Select the two points or lines.
- ➔ Click Smart Dimension Tool.
- ➔ Place the dimension along the line connecting points.
- ➔ Enter the value and confirm.
- Q20: Write the procedure to apply Vertical dimension using Smart Dimension Tool.Ans: The steps to apply Vertical dimension are as follows:
- ➔ Select the two points or lines.
- ➔ Click Smart Dimension Tool.
- ➔ Place the dimension vertically.
- ➔ Enter the value and confirm.
- Q21: Write the procedure to apply Angular dimension using Smart Dimension Tool.Ans: The steps to apply Angular dimension are as follows:
- ➔ Select the two lines that form the angle.
- ➔ Click Smart Dimension Tool.
- ➔ Place the dimension showing the angle.
- ➔ Enter the value and confirm.
- Q22: Write the procedure to apply diameter dimension using Smart Dimension Tool.Ans: The steps to apply Diameter dimension are as follows:
- ➔ Select the circular edge or arc.
- ➔ Click Smart Dimension Tool.
- ➔ Place the diameter dimension.
- ➔ Enter the value and confirm.
- Q23: Write the procedure to apply radius dimension using Smart Dimension Tool.Ans: The steps to apply Radius dimension are as follows:
- ➔ Select the arc or circle.
- ➔ Click Smart Dimension Tool.
- ➔ Place the radius dimension.
- ➔ Enter the value and confirm.
- Q24: Write the procedure to apply linear diameter dimension using Smart Dimension Tool.Ans: The steps to apply Linear dimension are as follows:
- ➔ Select the two points or edges.
- ➔ Click Smart Dimension Tool.
- ➔ Place the linear dimension.
- ➔ Enter the value and confirm.
- Q25: What is an Ordinate Dimension Tool?Ans: Ordinate Dimension Tool measures the distance of points from a fixed origin point instead of between features.
- Q26: What is BOM or Part list?Ans: BOM (Bill of Materials) or Part List is a table listing all components, quantities, and details used in an assembly.
- Q27: Write down any 2 International Standard of drawing lines.Ans: Two International Standards are as follows:
- ➔ 210mm x 297mm (A4)
- ➔ 297mm x 420mm (A3)